Blogs

How to use a car tyre puncture repair kit

Nothing is more annoying than hearing that dreaded hiss of air escaping from your tyre, particularly if you’re far from help. The good news is that you don’t always have to tow your car to the closest auto repair shop or call roadside help when your tyre goes flat. You can quickly get back on the road if you have a tyre puncture repair kit in your boot and a little know-how.

What Is a Tyre Puncture Repair Kit?

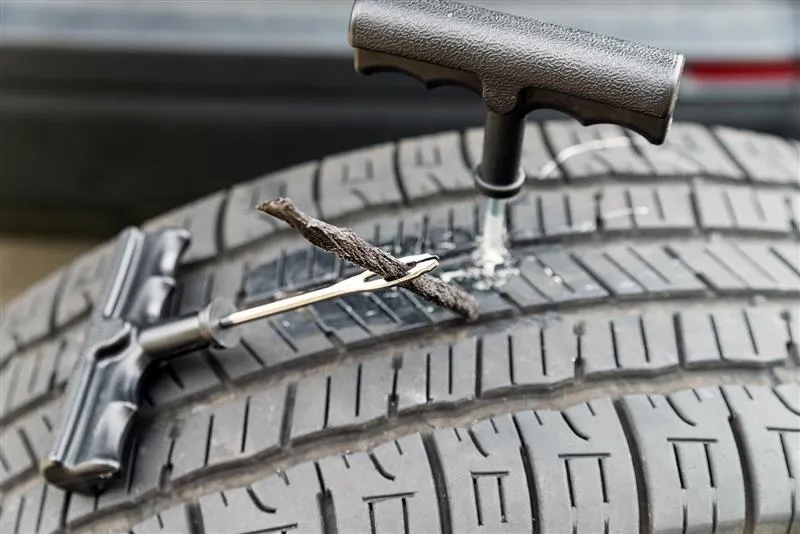
A small puncture in a tubeless tyre can be temporarily fixed with a small piece of equipment called a tyre puncture repair kit. Typically, it consists of:

  • Insertion tool
  • Reaming tool
  • Rubber repair strips (also called plugs)
  • Rubber cement (in some kits)
  • Gloves and a cutter

This kit is handy if you’re constantly on the go and can’t get to a car repair immediately. But remember that this is only a short-term solution, and you should get the tyre checked out by a professional as soon as possible.

When Can You Use?

Before we begin, let’s make one thing clear: a tyre puncture repair kit works only on specific kinds of damage. It can be used if:

  • A nail, screw, or similar object causes the puncture.
  • The hole is in the tread area (not the sidewall).
  • The tyre is tubeless.
  • The hole is not too large (usually under 6mm in diameter).

It’s advisable to have professional vehicle repair immediately if the puncture is too large or the sidewall of your tyre is damaged.

How to Use a Tyre Puncture Repair Kit

Step-by-Step:
Step 1: Locate the Puncture
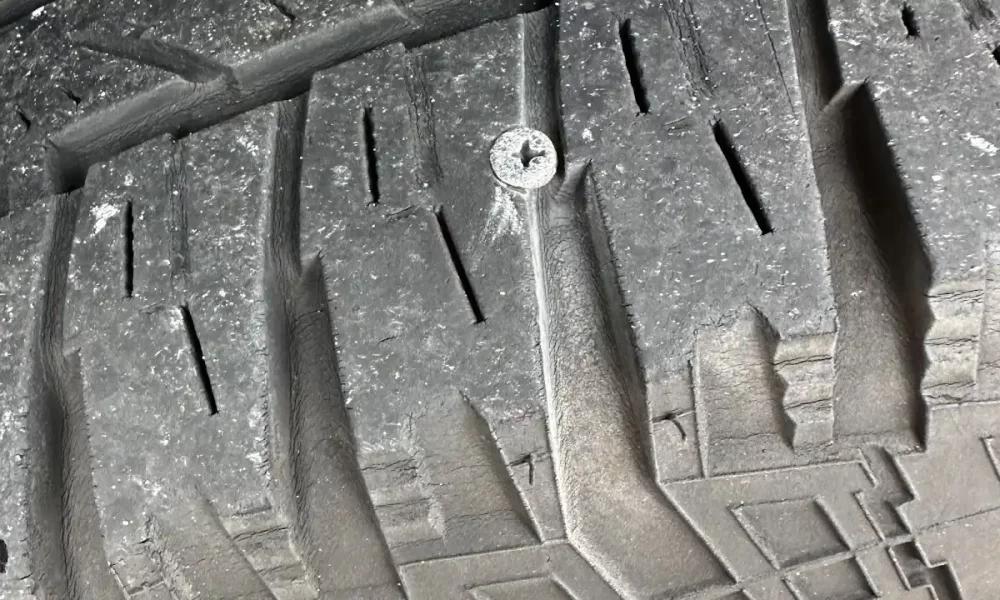
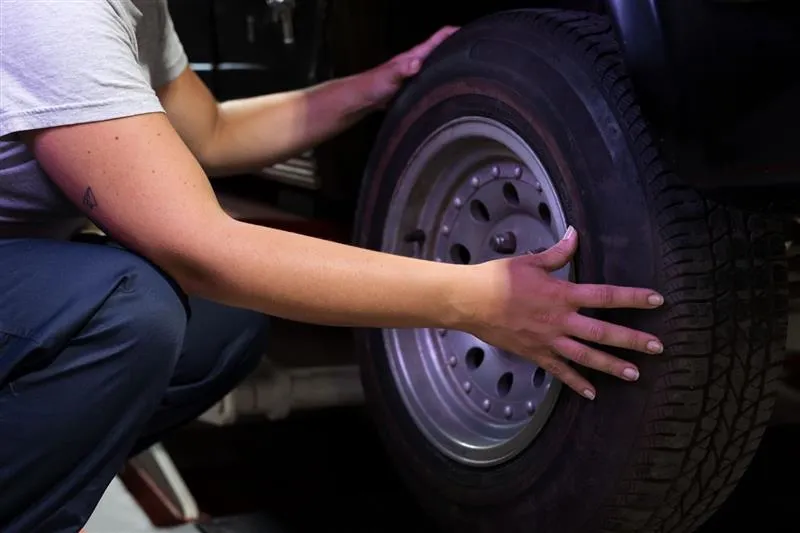
Put your warning lights on and park your car in a secure spot first. To find the puncture, check the tyre. Wait until you’re ready to patch the hole before removing the object if it’s still embedded. If you remove it too soon, the tyre may collapse rapidly.
Step 2: Remove the Object
tyre-2
When you’re ready, take out the nail or screw using pliers or any other instrument you have on hand. Air may flow out quickly, so be cautious.
Step 3: Ream the Hole
tyre-3
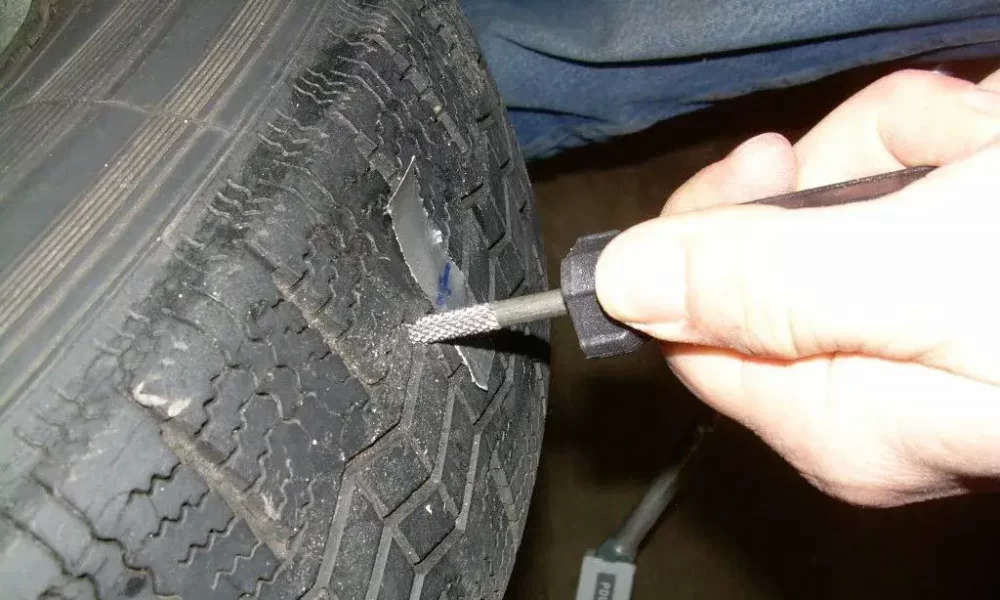
Clean and expand the hole using the reaming tool, which resembles a rough, pointed file. Push in and out multiple times after inserting it into the puncture. The hole is prepared for the rubber plug at this stage.
Step 4: Prepare the Plug
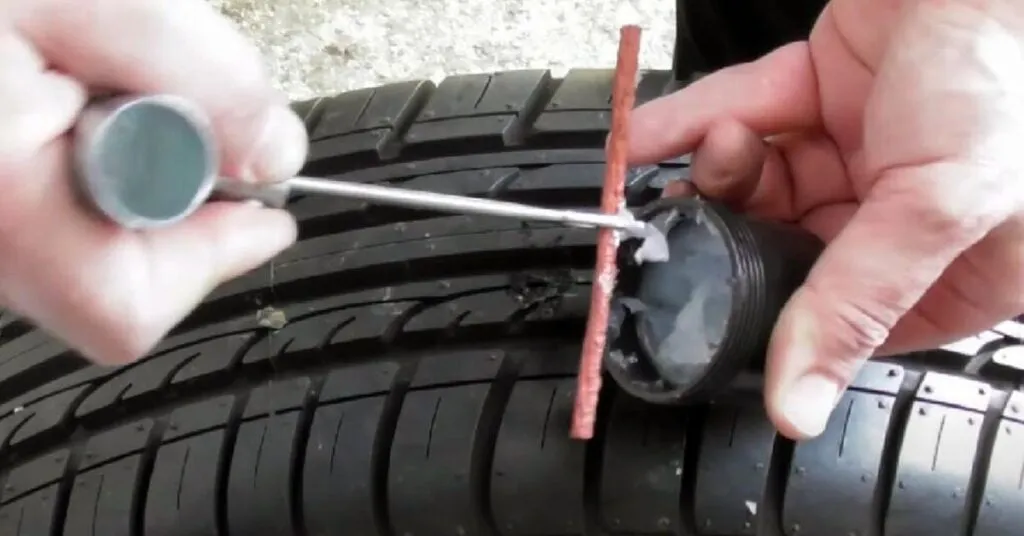
Please ensure the insertion tool’s eye is centered by inserting one of the rubber repair strips through it. For improved sealing, apply rubber cement to the strip if it is included in your kit.
Step 5: Insert the Plug
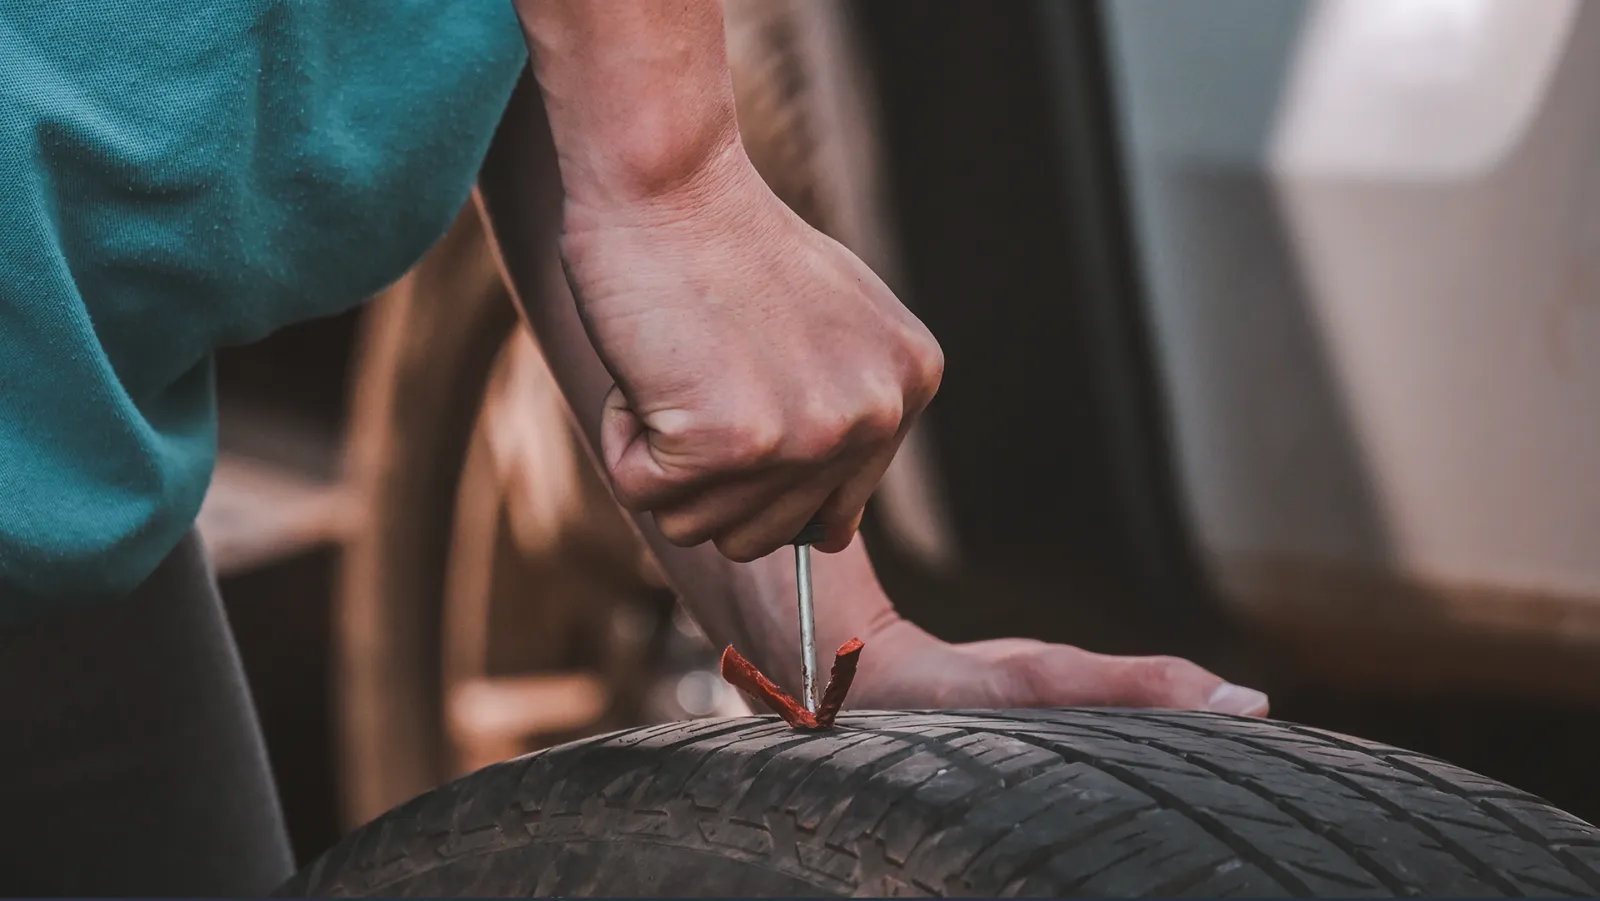
The strip should now only be visible approximately half an inch outside the tyre after pushing the insertion tool into the hole while the strip is inside. It might require some work. After it is in position, swiftly remove the tool, leaving the plug in place.
Step 6: Trim the Excess
Trim the exposed plug flush with the tyre surface using a cutter or scissors. It will fade with time, so don’t worry if it extends a bit.
Step 7: Inflate the Tyre
To inflate the tyre to the appropriate pressure, use a portable air compressor or go to a local gas station. Listen carefully or wash the plug area with soapy water to check for air leaks; bubbles will show a leak.
Step 8: Drive and Monitor

Please drive carefully and monitor the tyre’s behavior until it is filled and steady. With this modification, you should be able to reach your destination or the closest mechanical repairs safely.

Important Safety Tips

  • As crucial as a spare tyre, always keep your tyre puncture repair kit in your car.
  • Don’t put off visiting a reputable auto repair facility if you have any doubts regarding the quality of the work.
  • Never try to use these kits to fix enormous blowouts or sidewall punctures.
  • The patch is not a replacement for a genuine, long-term solution, even though it might last a while.

Final Thoughts
A tyre puncture repair kit is a simple yet powerful tool that can save the day when facing a flat tyre. You can maintain composure, take charge of the situation, and get back on the road swiftly and safely if you know when and how to utilize it. Even though this type of repair is quite helpful in an emergency, a professional inspection should always come after it to guarantee your car’s long-term safety.
Being ready with the appropriate equipment and information is a component of responsible vehicle ownership. Understanding how to deal with small problems like a puncture can make a big impact, whether you’re traveling vast distances or commuting every day. You never know when you might need your gear, so always have it close at hand, drive carefully, and remain vigilant.